Zen Cart to Shopify: A Complete Migration Guide
Considering a move? Learn how to execute a smooth and successful zen cart migration to shopify. This guide covers planning, data transfer, design, and more!
Zen Cart to Shopify: A Complete Migration Guide
Introduction: Why Migrate from Zen Cart to Shopify?
If you’re reading this, you’re likely considering a significant upgrade for your online store. You might be experiencing the limitations of Zen Cart, an open-source platform that, while powerful in its day, can now feel dated and challenging to manage compared to modern eCommerce solutions.
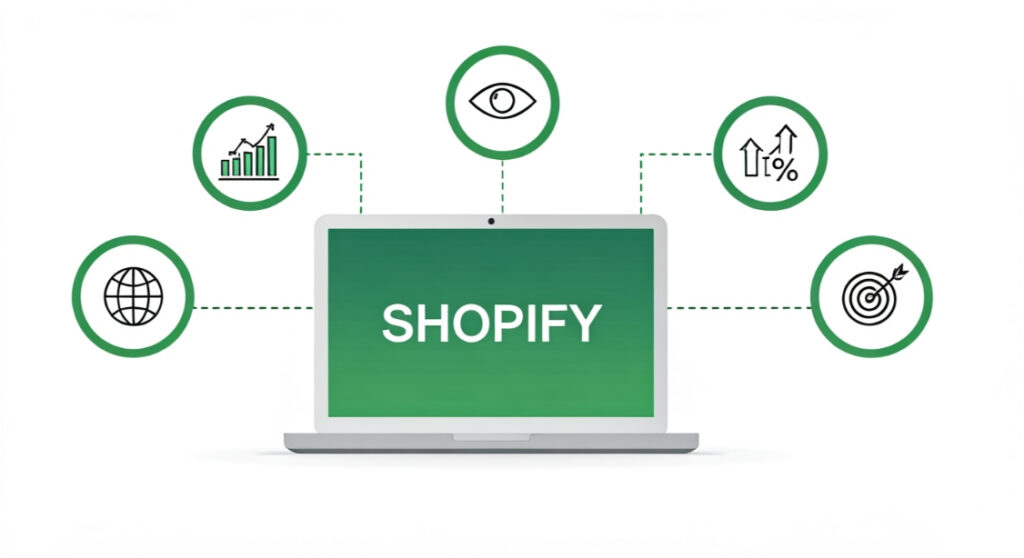
Shopify, on the other hand, offers a streamlined, user-friendly experience with robust features, a vast app ecosystem, and exceptional scalability. It’s a fully hosted platform, meaning you don’t have to worry about server maintenance, security updates, or complex technical configurations. This frees you up to focus on what truly matters: growing your business.
Here’s why making the switch might be the best decision for your business:
- Ease of Use: Shopify’s intuitive interface makes managing your store a breeze, even without technical expertise.
- Scalability: Shopify can handle massive traffic spikes and increasing order volumes as your business grows.
- App Ecosystem: Thousands of apps are available to extend your store’s functionality, from marketing automation to advanced analytics.
- Security and Reliability: Shopify handles all security updates and server maintenance, ensuring your store is always online and protected.
- Payment Processing: Shopify integrates seamlessly with various payment gateways, including Shopify Payments, offering competitive rates and simplified transaction management.
- SEO Friendliness: Shopify provides built-in SEO tools and a clean code base that helps your store rank higher in search results.
- Support: Shopify offers 24/7 support via phone, email, and chat, providing prompt assistance whenever you need it.
Planning Your Zen Cart to Shopify Migration
Before diving headfirst into the migration process, careful planning is crucial. This will help you avoid costly mistakes and ensure a smooth transition.
1. Assess Your Current Zen Cart Store
Take a detailed inventory of your existing store. This includes:
- Products: Number of products, categories, attributes, and variations.
- Customers: Number of registered customers and their order history.
- Orders: Total number of orders and their associated data.
- Content: Blog posts, pages, images, and videos.
- Design: Custom theme elements, branding, and website layout.
- Functionality: Custom modules, payment gateways, shipping methods, and integrations.
Documenting this information will help you determine the scope of the migration and choose the right Shopify plan and migration tools.
2. Choose a Shopify Plan
Shopify offers several plans, each with different features and pricing. Choose the plan that best suits your current needs and anticipated growth:
- Basic Shopify: Ideal for new businesses with essential eCommerce features.
- Shopify: A good choice for growing businesses with more advanced reporting and marketing tools.
- Advanced Shopify: Suitable for established businesses requiring advanced features like third-party calculated shipping rates and custom reporting.
- Shopify Plus: Enterprise-level solution for high-volume merchants with advanced customization and support needs.
You can always upgrade your plan as your business grows, so don’t feel pressured to choose the most expensive option initially.
3. Back Up Your Zen Cart Data
This is arguably the most critical step. Before making any changes to your Zen Cart store, create a complete backup of your database and files. This will serve as a safety net in case anything goes wrong during the migration process.
You can typically back up your database using phpMyAdmin or a similar tool. For files, use an FTP client to download all the files from your Zen Cart installation to your computer.
4. Set Up Your Shopify Store
Create a Shopify account and configure the basic settings, such as your store name, address, and currency. Choose a temporary theme to start with; you can customize it later or install a premium theme.
Performing the Zen Cart to Shopify Migration
Now comes the actual process of moving your data from Zen Cart to Shopify. There are several approaches you can take:
1. Automated Migration Apps
Several Shopify apps specialize in migrating data from various eCommerce platforms, including Zen Cart. These apps automate the process, making it faster and less error-prone. Some popular options include:
- Cart2Cart: A comprehensive migration tool that supports a wide range of eCommerce platforms.
- LitExtension: Another popular migration app with a user-friendly interface and various migration options.
These apps typically allow you to migrate products, customers, orders, categories, and other data. They often offer a free demo migration so you can test the process before committing to a paid plan.
Pros: Faster, less technical, handles complex data structures.
Cons: Can be expensive, may not support all custom features.
2. Manual Migration
If you’re comfortable working with databases and CSV files, you can manually migrate your data. This involves exporting data from your Zen Cart store and importing it into Shopify using CSV templates.
Products: Export your product data from Zen Cart in CSV format. Then, format the data to match Shopify’s product CSV template. You can find the template in Shopify’s documentation.
Customers: Export your customer data from Zen Cart in CSV format. Format the data to match Shopify’s customer CSV template.
Orders: Migrating order data manually is more complex. You may need to create custom scripts or use a combination of manual and automated methods. Consider focusing on migrating only essential order information.
Content: Manually copy and paste your blog posts, pages, and other content into your Shopify store.
Pros: Cheaper, more control over the migration process.
Cons: Time-consuming, requires technical expertise, prone to errors.
3. Hybrid Approach
A hybrid approach combines the benefits of both automated and manual migration. You can use a migration app to transfer the bulk of your data and then manually migrate any custom features or data that the app doesn’t support.
Designing Your Shopify Store
Once your data is migrated, it’s time to focus on the design of your Shopify store. Shopify offers a wide range of themes, both free and paid, that you can customize to match your brand.
1. Choose a Theme
Browse the Shopify Theme Store and select a theme that aligns with your brand and target audience. Consider factors like layout, features, and mobile responsiveness.
2. Customize Your Theme
Use the Shopify theme editor to customize your theme’s colors, fonts, images, and layout. Add your logo, update your navigation menu, and create compelling product pages.
3. Recreate Custom Functionality
If your Zen Cart store had custom modules or functionality, you’ll need to recreate them in Shopify. This may involve using Shopify apps, custom code, or a combination of both. Work with a Shopify developer to implement complex customizations.
Testing and Launching Your Shopify Store
Before launching your Shopify store, thoroughly test all aspects of your store to ensure everything is working correctly.
1. Test Your Store
Place test orders, browse your products, and check your payment gateway integrations. Make sure all links are working, and your website is displaying correctly on different devices and browsers.
2. Set Up Redirects
To avoid losing search engine rankings, set up 301 redirects from your old Zen Cart URLs to your new Shopify URLs. This will tell search engines that your website has moved and redirect users to the correct pages.
3. Launch Your Store
Once you’re confident that everything is working correctly, it’s time to launch your Shopify store. Update your DNS records to point to Shopify’s servers, and remove any password protection from your store.
Post-Migration: Optimizing and Growing Your Shopify Store
The migration is complete, but the journey doesn’t end there. Now it’s time to optimize your store and focus on growing your business.
1. Implement SEO Best Practices
Optimize your product pages, blog posts, and other content for search engines. Use relevant keywords, write compelling meta descriptions, and build high-quality backlinks.
2. Leverage Shopify Apps
Explore the Shopify App Store and install apps that can help you improve your store’s functionality, marketing, and customer service. Some popular apps include:
- Klaviyo: Email marketing and automation.
- Yotpo: Product reviews and ratings.
- Smile.io: Loyalty programs and rewards.
3. Monitor Your Analytics
Use Shopify’s built-in analytics tools to track your store’s performance and identify areas for improvement. Monitor your traffic, sales, and conversion rates to make data-driven decisions.
Conclusion: Embracing the Power of Shopify
Migrating from Zen Cart to Shopify is a significant undertaking, but the rewards are well worth the effort. Shopify offers a powerful, user-friendly platform that can help you grow your business and reach new heights.
By following the steps outlined in this guide, you can ensure a smooth and successful zen cart migration to shopify and unlock the full potential of your online store. Embrace the power of Shopify, and watch your business thrive!