Squarespace to Shopify: A Complete Migration Guide
Now, let’s walk through the process to migrate squarespace website to shopify. While not everything transfers perfectly, following these steps will give you a strong foundation.
Squarespace to Shopify: A Complete Migration Guide
Why Migrate From Squarespace to Shopify?
- Scalability: Shopify can handle significantly more traffic and a larger product catalog than Squarespace. As your business expands, Shopify provides the infrastructure to support your growth.
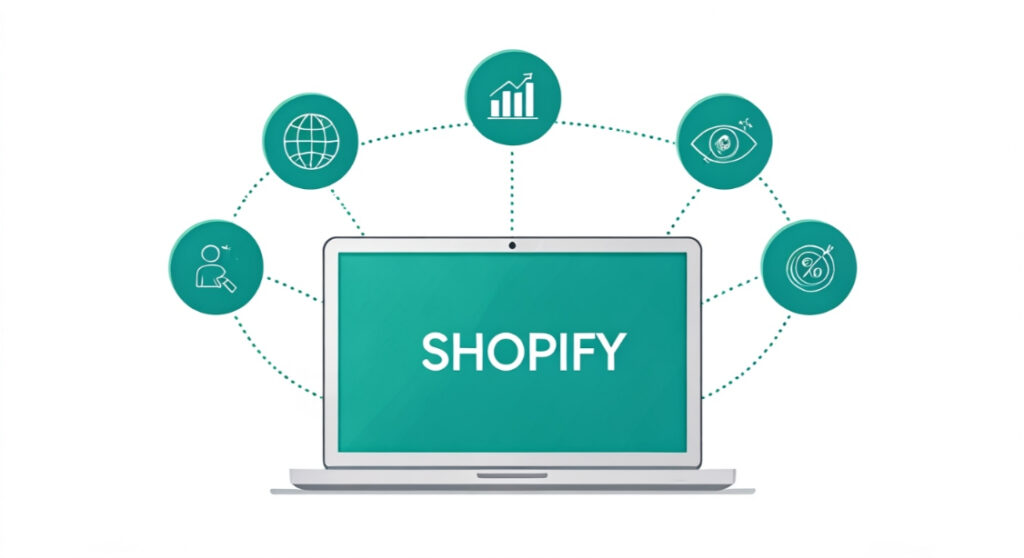
- Advanced eCommerce Features: Shopify boasts a wider array of features tailored for online sales, including abandoned cart recovery, sophisticated inventory management, diverse payment gateways, and robust shipping integrations.
- App Ecosystem: The Shopify App Store is a treasure trove of apps designed to enhance your store’s functionality. From marketing automation to customer support tools, you can find apps to address almost any business need. Squarespace’s app ecosystem is much smaller in comparison.
- SEO Capabilities: While Squarespace offers basic SEO tools, Shopify provides more control and flexibility for optimizing your store for search engines. Features like customizable URLs, meta descriptions, and image alt text allow for better control of your SEO strategy.
- Customization: Shopify offers greater design flexibility, particularly with its Liquid templating language. This allows for highly customized themes and a unique brand experience. While Squarespace themes are visually appealing, they can be limiting in terms of modification.
- Customer Support: Shopify has a large and active community, plus extensive documentation and 24/7 support. This is a significant advantage, especially when dealing with technical issues or complex setups.
Planning Your Squarespace to Shopify Migration
1. Audit Your Existing Squarespace Site
- Products: Record all product details, including names, descriptions, prices, images, variants (sizes, colors, etc.), and SKUs.
- Pages: Identify all your website pages (e.g., About Us, Contact, Blog) and their content.
- Blog Posts: Export your blog posts if you plan to migrate them. Note the images and any associated metadata (tags, categories, author).
- Customers: Gather customer data (names, email addresses, shipping addresses) if you need to transfer it to Shopify. Note that due to privacy regulations, you may need explicit consent from customers before migrating their data.
- Images and Files: Make a list of all images and files used on your site.
- SEO Data: Note your existing URLs, meta descriptions, and any other SEO configurations.
- Custom Code: Identify any custom code you’ve added to your Squarespace site.
2. Choose a Shopify Plan
3. Select a Shopify Theme
4. Consider Data Migration Tools
5. Set a Timeline
Step-by-Step Guide to Migrating Your Squarespace Data
1. Set Up Your Shopify Store
- Store Settings: Configure your store’s basic settings, such as store name, address, currency, and time zone.
- Payment Gateways: Set up your preferred payment gateways (e.g., Shopify Payments, PayPal).
- Shipping Settings: Configure your shipping rates and options.
- Taxes: Configure your tax settings.
2. Export Your Squarespace Data
- Products: Squarespace does not offer a direct product export feature. You’ll likely need to manually copy and paste product information into a spreadsheet or use a third-party tool or app (see “Data Migration Apps” below).
- Blog Posts: You can export your blog posts as an XML file. Go to Settings > Advanced > Import/Export > Export. Choose “WordPress” as the platform (this is the most compatible format).
- Customers: Squarespace Commerce allows you to export customer information. Go to Commerce > Customers and click “Export.”
3. Import Data into Shopify
- Products: Because Squarespace doesn’t allow a direct export, product import is often the most time-consuming task. You’ll likely need to create a CSV file with the necessary product data (name, description, price, etc.) and import it into Shopify. Shopify provides a sample CSV file that you can use as a template. Alternatively, use a data migration app.
- Blog Posts: In your Shopify admin, go to Blog posts > Import blog. Choose the XML file you exported from Squarespace.
- Customers: In your Shopify admin, go to Customers > Import customers. Choose the CSV file you exported from Squarespace.
4. Design and Customize Your Shopify Store
5. Recreate Pages
6. Redirect URLs
7. Test Your Store
Data Migration Apps for a Smoother Transition
- Cart2Cart: A comprehensive migration app that supports transferring a wide range of data, including products, customers, orders, and blog posts.
- LitExtension: Another popular migration app with similar features to Cart2Cart.
- Matrixify (Excelify): Powerful tool for importing and exporting data using Excel or CSV files. Ideal for complex data migrations or when you need fine-grained control over the process.
Post-Migration Checklist
- Monitor Your Store: Keep a close eye on your store’s performance, including traffic, sales, and conversion rates.
- Gather Customer Feedback: Ask your customers for feedback on their shopping experience.
- Update Your DNS Records: Point your domain name to your Shopify store.
- Cancel Your Squarespace Subscription: Once you’re satisfied with your Shopify store, cancel your Squarespace subscription.
- Marketing and Promotion: Begin actively marketing and promoting your new Shopify store.